This summer holiday we visited my cousin in Kent for a week. We both love to talk craft and I’m sure it’s in the genes! We have five girls between us and discussed making fairy lanterns with them as a rainy day activity with some leftover lampshade pvc she had. However, there was barely a cloud in the sky all week and as the temperatures soared there was no place to be but the beach. The kids were happy spending evenings painting shells with glittery nail varnish and the lampshade supplies came home in my suitcase.
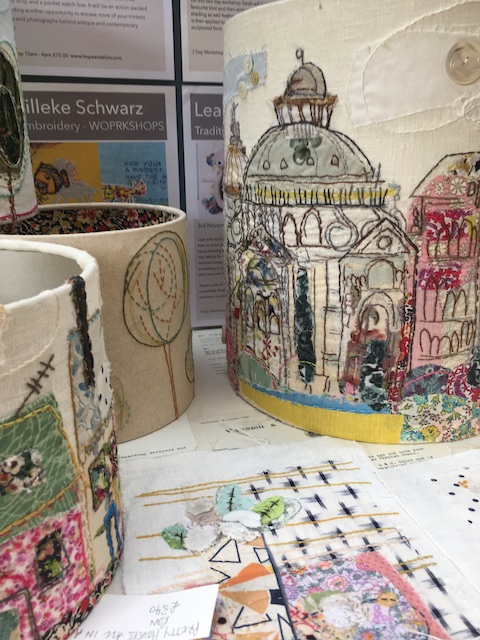
Since seeing how Marna Lunt uses her hand embroidery to make gorgeous shades, I’ve been interested in learning some techniques.
On my shelves I have this great book by Natalia Price-Cabrera..

Fairy lanterns seemed like a good place to start (page 52 in the book). There’s not even any sewing involved. I had a cheap set of 12 battery Christmas lights and thought a vintage silk scarf in my stash might work well for the shades. It’s not my cup of tea for wearing and it does have a few faults – so time to give it a new life.
The self-adhesive pvc was surprisingly easy to use. It had squares on the peel-off backing paper so marking out sizes was simple. You do need really decent paper scissors though to cut it cleanly. I was expecting to sacrifice a few lanterns due to creases but the fabric stuck beautifully without a single wrinkle or bubble and I could trim right up to the edge without the silk fraying.

Soon they were finished according to the instructions. I’m not good at keeping things simple though. I was fairly restrained but couldn’t help myself adding some pom-pom trim with my hot glue gun. The PVC is supposedly heatproof but I still needed to be careful not to melt it.
 Impatiently waiting for it to go dark…….ta-dah!

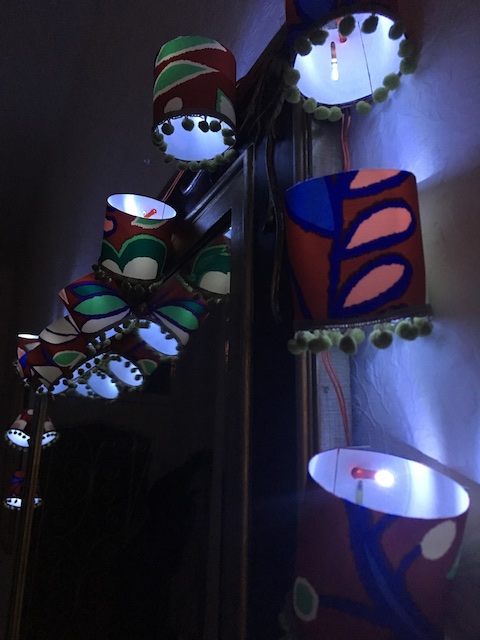
They turned out pretty well for a first attempt I think? Daughter One has asked to make some for her bedroom. We’ve just enough of the PVC left and we’ll check out the stash for some lighter coloured fabrics and buy a set of warmer lights.
Here in Yorkshire we obviously we don’t do waste! To use up those leftover scraps I remembered an idea by Lisa Comfort I’d seen in a magazine years ago. After careful cutting, I had long strips of fabric left. I stitched right sides together along the two long sides and diagonally across the shorter one. This left a long tube. I don’t have a loop turner tool but I attached a safety pin through the end of a bodkin like this to turn the strip the right way around. Then I knotted the closed end and posted beads down, twisting and knotting after each one, finally hand stitching the turned in end closed on a diagonal.

With all that twisting, your string of beads ends up considerably shorter so you need to allow for this, especially if they’re to wear. Depending of the bead diameter and how tightly you twist, You need a starting length at least double. You will need to attach strips together before you stitch into the tubes.
Chunky jewellery is not really me though. Maybe it’s the colour of the scarf I used that gave me the idea but I thought these could make lovely Christmas tree garlands.
I’ll definitely be going back to the lampshade book to try something new. It’s full of inspiration and really clear photo tutorials that are great for a beginner.
If you’re interested in upcycling, vintage treasures, check out Lisa Comfort’s Sew Over It books.

One thought on “New Life for a Vintage Scarf”