Exciting packages arrived in the post recently. A selection of premium undyed yarns were first to land. Undyed sock yarn is fairly easy to find here in the UK, but not so much other weights, so it’s great to see a choice of weights and fibres included in the new Scheepjes Nakid Series. For my first adventures in hand-dyeing (always remember the e!) I plumped for a variety and in this post I’ll be sharing my experience and the things I’ve found out.

Scheepjes Nakid Series
There are three different fibre options in Scheepjes Nakid Series. As soon as I touched the Alpaca Blend skeins, I wanted to hold them to my face. They are so, so soft and smell gorgeously ‘sheepy’. Yarny people will understand! The colour is slightly less creamy and more natural than the other fibres. They are 80% Wool, 20% Alpaca and available in DK and Chunky weights.
The Pure Wool skeins that I thought might be a bit scratchy, surprised me by their smoothness. I imagine they will have lovely stitch definition knitted up. They are available in Fingering, Sport and DK weights and 100% Basolan Wool, which I’ve read means the fibres have been treated to remove some of the scales and to slightly alter their structure. Items made with Basolan wool apparently benefit from improved water-repellence, are more durable and less prone to felting, pilling or absorbing odours when compared to untreated wool. For hand-dyers, because the surface of the fibre is etched, the pigment penetrates the fibres more deeply, making the colours appear more brilliant.
The fingering weight Sock Yarn is a blend of 75% Superwash Wool and 25% Nylon. This yarn feels extremely smooth, has a slight sheen and can conveniently be machine washed at 30°C.
Jacquard Dyes
Jacquard acid dyes are also newly available from Scheepjes retailers (you can ask yours if they’ll order you some if they’re not already in stock). I’d ordered a set of dyes suitable for protein fibres, i.e. silk, wool and nylon, that included four pots of dye powder in sun yellow, hot fuchsia, turquoise and jet black. There was also a pack of citric acid that’s used as a fixative.

A handy colour mixing chart comes with the kit, which includes ratios for mixing more complex colours. There are lots of individual colours in the Jacquard range but you can create an amazing array of shades using just the four little pots in the set, so it’s great for beginners like me to experiment with. You can find complete instructions for using the dyes on the Jacquard website.
Essential Equipment
For dyeing wool the instructions suggest using the stove top method and for that you need:
- Large steel or enamel lidded pan.
- Tiny scoops/spoons for dye powder.
- Micro-scales for weighing the dye powder.
- Stirring spoon.
- Measuring jug.
- Jars or empty bottles to keep your dye stock in.
- Rubber gloves and face mask (breathing in dye dust may be harmful).
- Few cable ties (reusable are available), shower curtain rings that open and close, or similar.
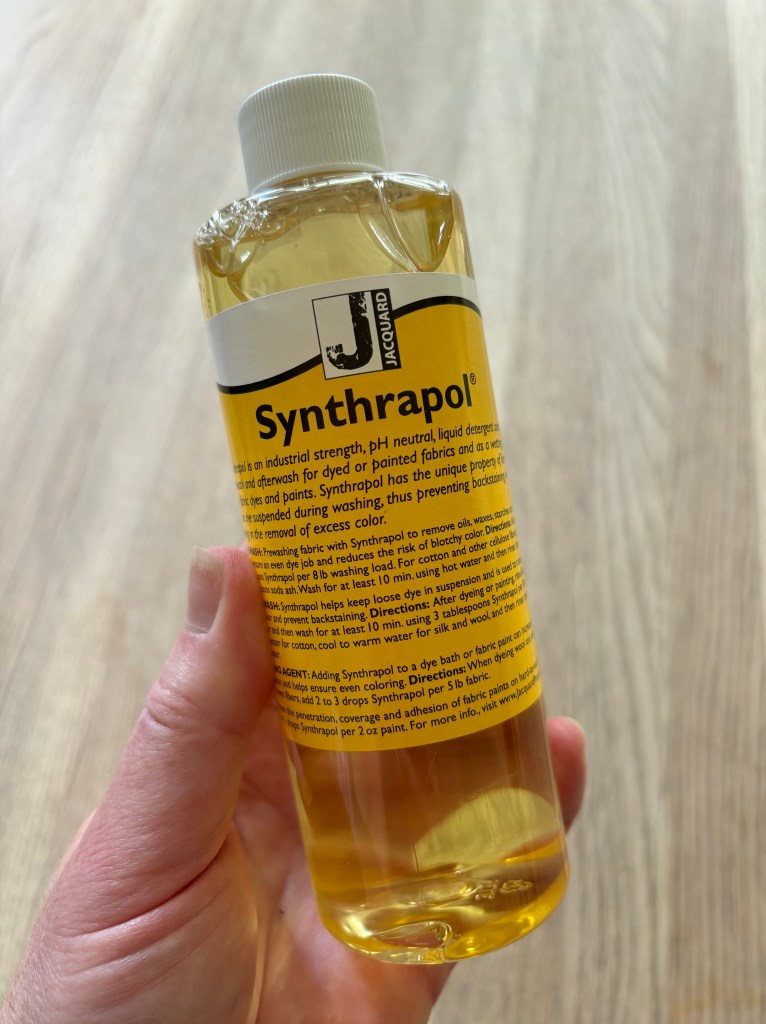
- Synthrapol* or an equivalent mild detergent.
*Synthrapol is a liquid detergent specifically designed to remove excess dye particles. The kit instructions recommend washing the yarn in it after dyeing.
Optional Equipment
- Thermometer – when dye is added to pan the temp needs to be maintained at around 80°C (I guessed and all seemed to be ok!).
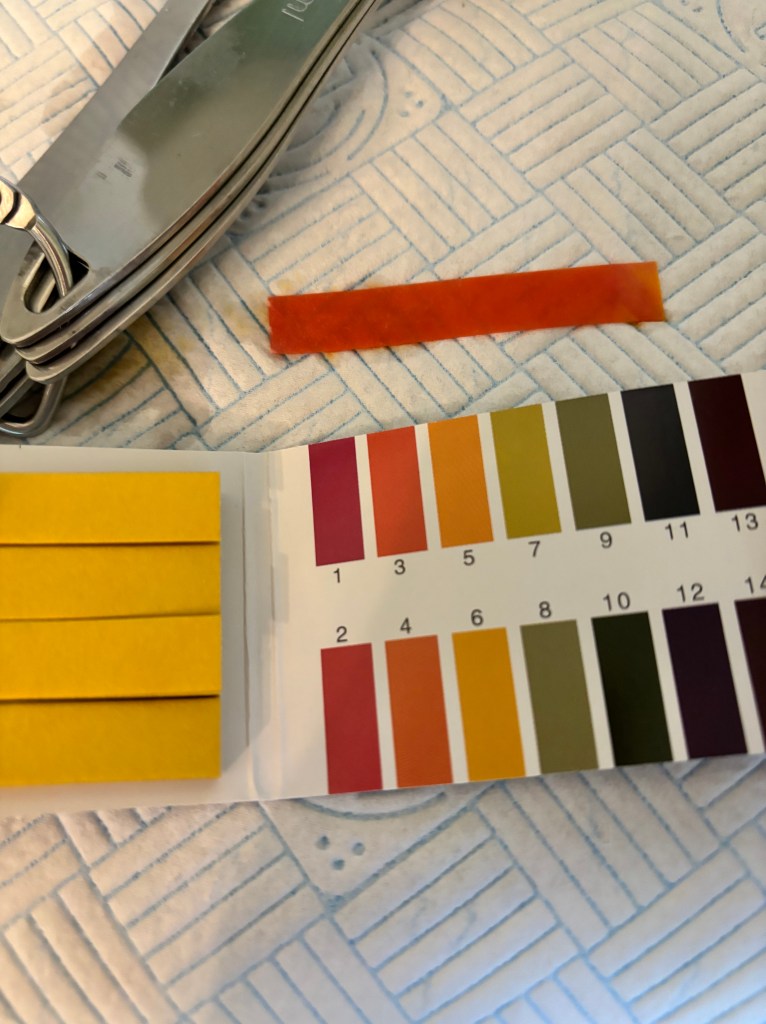
- PH strips – to check acidity of dye bath if you’re feeling scientific, or want to accurately record what you did to recreate colours.
- Mini milk frother – suggestion I found online to help mix the powder with water when you’re making a paste. It worked very well but do use a deep container, otherwise you might spray the walls like I did!
- Calculator – if mixing colours it’s handy for working out weight of powder needed when following ratios.
- Syringes – helpful for getting the dye where you want it for variegated effects.
- Protection for table and clothes. I would also suggest something to keep the dye pots contained when you are mixing the colours, such as a cat litter tray or foil tray. The dyes are so intense, even a grain or two escaping will dye you or your surfaces. Lining the tray with a damp paper towel helps to attract the particles.
Note that any pots or utensils used for dyeing should never be used afterwards for food preparation. I sacrificed some old measuring spoons and found a very large steel pan on Facebook Marketplace for a tenner that would easily fit two skeins in. With that I was equipped and ready.
Prepping the Yarn
First of all I chose the Alpaca blend and Pure Wool, both in DK, and decided to dye them a solid colour to keep things simple. Opening them out I was happy to find that Nakid has plenty of skein ties attached (loops of yarn tied around several sections in a figure of 8) so there was no need to add more. The ties help to prevent the yarn from tangling so leave these in place. Adding the cable tie/curtain ring is a good idea as it helps with lifting the skein in and out of the water. If you’re using two skeins of different fibres, you might want to use a different tie to easily identify which is which later.

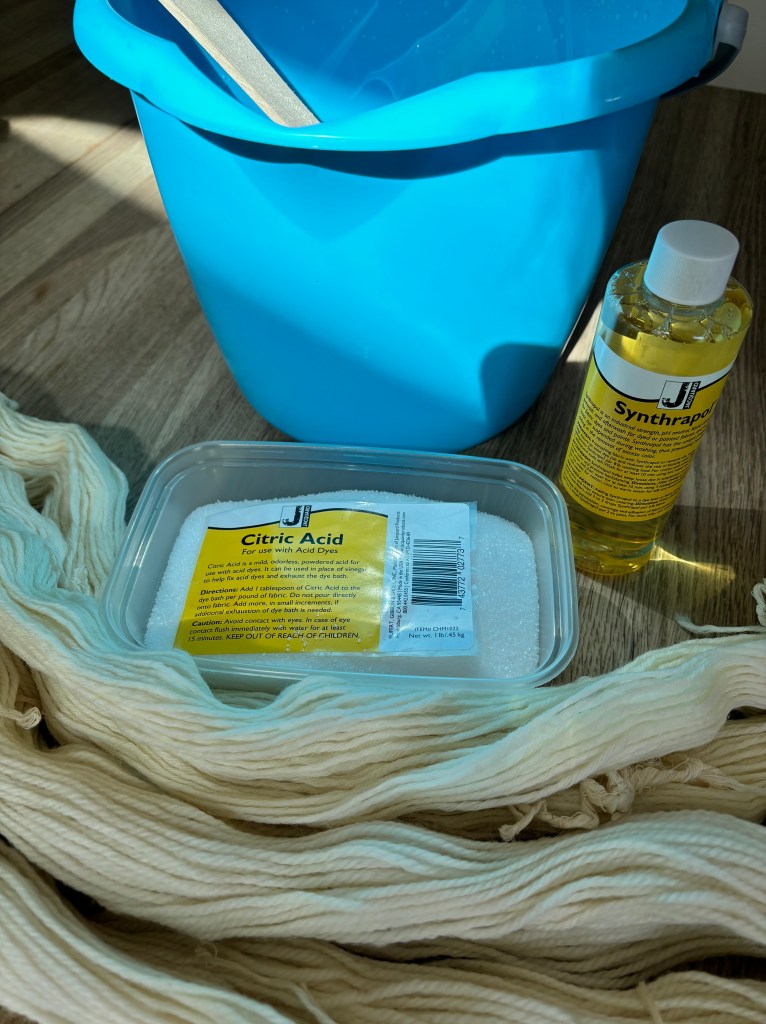
Pre-soaking
Pre-soaking supposedly helps the dye permeate to the core for even results. I used a bucket with enough room temperature water to cover the skeins and added a capful of Synthrapol and a tablespoon of citric acid. The Synthrapol removes any residual grease from handling which could cause lighter and darker spots and ensures the yarn is nice and clean. The citric acid helps the dye to quickly bond with the yarn. You’ll need to leave the yarn soaking for at least 30 minutes. Mine was left for four hours and leaving it overnight is still fine.
Making Dye Stock
While the yarn soaks, put on your protective gear and cover the table ready make your dye stock. It stores well so you can make up a whole load at once, or make what you need as you go. You only need tiny amounts of dye powder – the pots in the kit go a very long way. As I intended to dye more skeins I decided to do this messy bit all at once and gathered as many empty jars as I could find. The bemused family came home to a scene they thought resembled something from Breaking Bad!
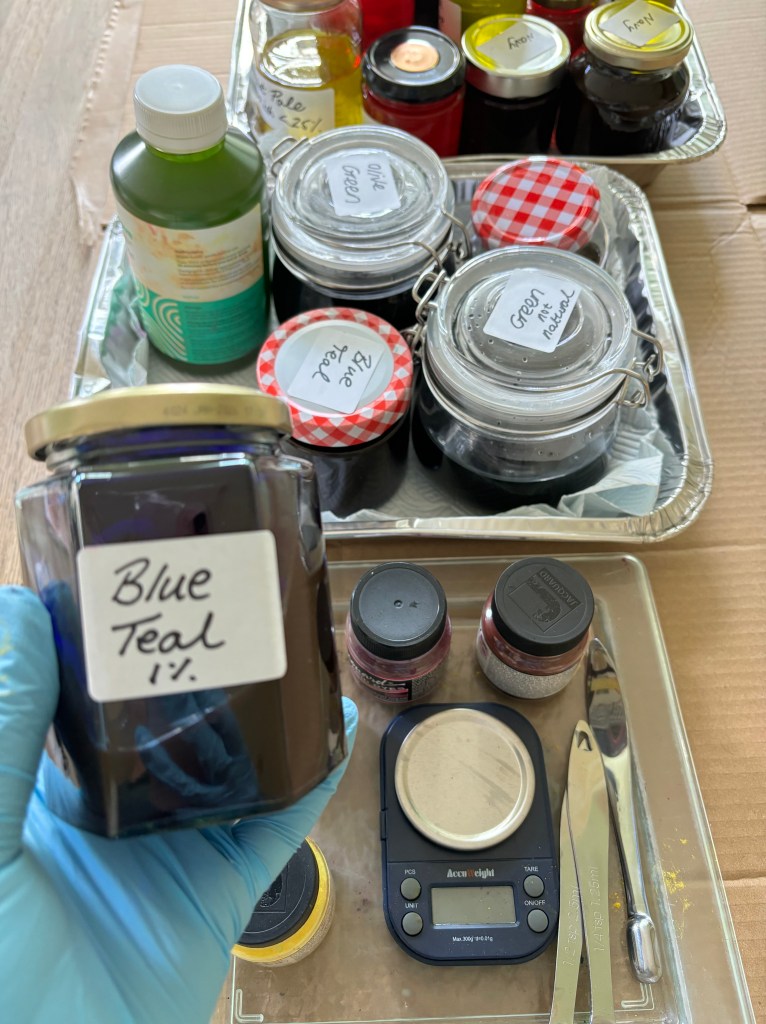
If you are serious about dyeing then it’s a good idea to keep a notebook with the exact recipes for the colours you like. The dye kit includes a colour wheel and mixing ratios for more complex colours. For example, to make blue teal, it says use 1 part Jet Black to 7 parts Turquoise. For a full strength result you make a 1% stock, i.e. use 100ml water for every gram of dye. For pastel colours, you need 400ml water for every gram of dye.
I decided to attempt a kind of Irish green and used 1 gram of Turquoise + 3.5 grams of Sun Yellow. As it totalled 4.5 grams I’d need 450ml water to make 1% stock. The water needs to be very hot to dissolve the grains, so I poured boiling water from the kettle into a measuring jug and left to one side while I weighed the powder into a large jar. I added about 100ml of the water to begin with and stirred to make a paste. When that was completely dissolved, I added the remaining 350ml.
Prepping the Dye Bath
To create sold colour you use the full immersion method ie the yarn is completely submerged in the bath. You need to pour enough room temperature water you think will cover the skeins into the pan plus about half an inch. This will depend on the size of your pan, and for me this was about 3 litres. You ideally want a pH level of about 2.5, so stir in 1-2 tablespoons of citric acid* (your tap water can slightly affect levels). I used 1.5 tablespoons which was about right.
*Some dyers use white vinegar in place of citric acid
Once the citric acid has dissolved, you can add your yarn to the pan. Grab the cable tie to pull the skein out of the soaking bucket. Holding it over the sink, run your hand down the length of the skein a couple of times to remove excess water. Strictly no wringing as this could felt the yarn! Fold the skein in half and lower gently into the pan without agitating. Ensure yarn is completely immersed.
Cooking
Turn on the hob at a low heat. You don’t want to shock the yarn into felting by any quick changes of temperature. Gently bring the temperature up to 80°C, just below boiling and add your dye stock. The stock/water ratio is about 1:24 so for my 3 litres I added 125ml stock. (If you work in imperial that’s half a cup of stock for every 12 cups of water). The water will immediately change colour, then gradually turn clear as the dye exhausts. Put the lid on and maintain temperature at 80°C. Check every 15 minutes or so to see if you’re happy with the colour (it will dry a fair bit brighter as you’ll see below) and check if the water has turned clear by dunking a spoon in. Thirty minutes should be enough.

Final Steps
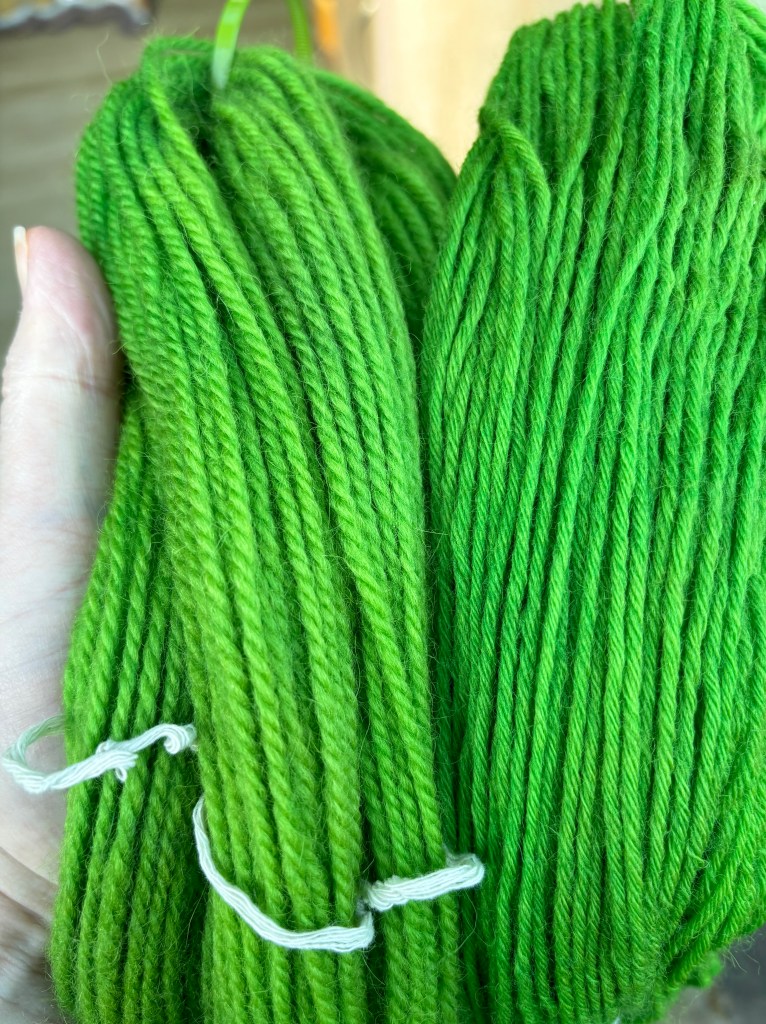
Turn the heart off and leave to cool completely. Gently swish in a bowl cool water with a capful of Synthrapol and rinse. Repeat if needed until the water runs clear (note that reds/pinks don’t exhaust so easily and tend to leave a little residue the first few times). Run your hand down the length of the skein to remove excess water and hang to dry naturally.
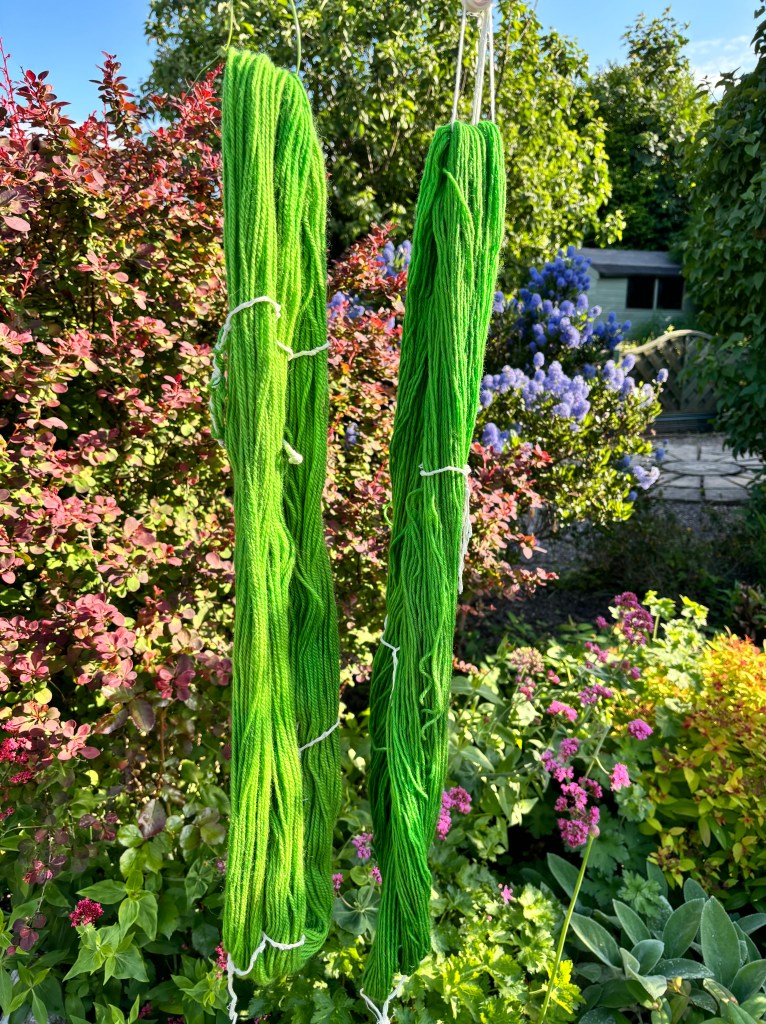
As my skeins were drying I could see that the Alpaca Blend was a slightly more yellowy green than the Pure Wool, showing that results can vary a little depending on the fibre. I was super pleased with how well they’d both turned out.
Once the yarn is completely dry, if you want to use it immediately wind it into a ball or cake. Otherwise you can turn it back into a twisted skein to admire until you find the perfect project. With your arms out, hold one end of the loop in each hand and hold it taut. Keep one end still and twist the other end away from you. After a few twists you will feel when it wants to ‘give’ in the middle and twist around itself. Then take the end in the hand you twisted and pop it through the loop at the other end. If you’re ready to use it immediately, you can wind it into a cake or ball instead.

Next Steps
Buoyed by the success of the first experiment, I was eager to try other effects. To create variegated yarns I tried partial immersion where the water in the pan only covers some of the yarn. I added the lightest shades first, using syringes to place it where I wanted and to ensure I had colour right into the centre of the skein. I was really pleased with these results too.

After 15 minutes when the dye had exhausted, I added darker shades and repeated until I was happy. Wherever I wanted the colours to blend I would gently push the yarn under the surface for a few seconds.

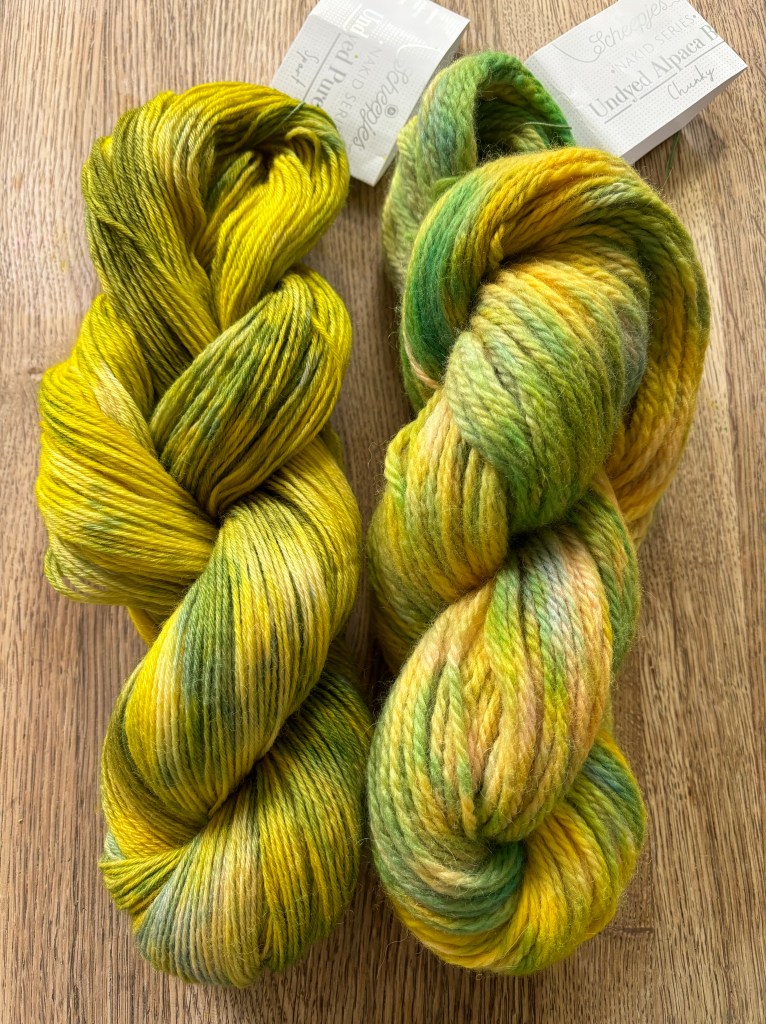
Below I was attempting a kid of ‘Cabbage’ colourway.

It dried lighter and brighter than I imagined but I like it regardless.
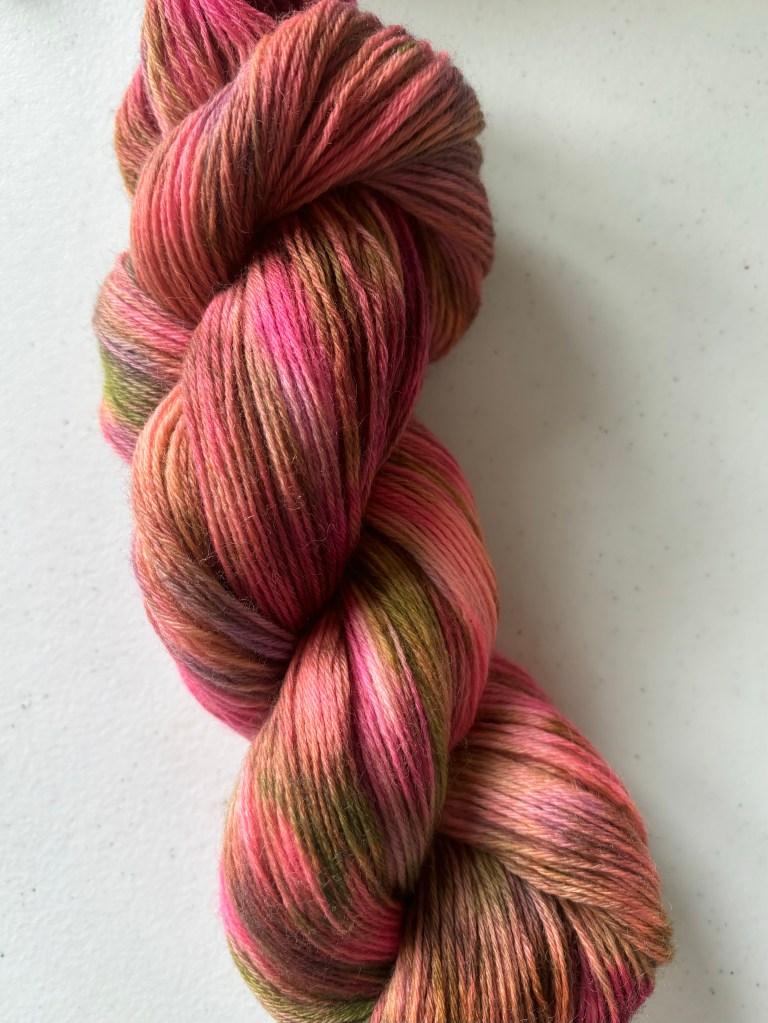
I’m calling this one below ‘Radish’!

I’ve realised there are countless potential effects and shades you can achieve just with the four colours in this one dye set and there is so much inspiration out there, I’ve read and listened to a whole load of info and it feels like I just dipped into a whole new world! If you’re hungry for more, I would recommend ChemKnits Tutorials. I found this a fantastic resource, with over 500 episodes of Dye Pot Weekly to explore!
If that all seems a bit overwhelming, I would definitely recommend getting hold of a couple of skeins of Scheepjes Nakid (I think the 100% Pure Basolan Wool is great to begin with) and the Jacquard Acid Dye set then just having a play to see what happens. It’s been tremendous fun!

