Today Scheepjes release Part 1 of the blue tit chart and the bonus charts, so whenever you complete your cushion front you can begin stitching your chosen motif. Exciting!
Scheepjes decided to publish the blue tit design in two parts; this week you’ll get the right hand side with the bird’s body and head, next week will come the left hand side with the wings. The body and head I think are slightly easier to start with, as there are bigger blocks of colour. The moment you complete the head is lovely, as that’s when you’ll see your blue tit begin to come to life!

In this post, I’ve covered checks to make before you begin embroidering, planning the back piece, some additional chart info, where to start stitching and supporting the fabric. I’ve concluded with the links to the videos that cover how to make the duplicate and cross stitches including how to knot the ends.

Before you stitch
Before any stitching begins, take a good look at your cushion front. Our knit or crochet stitches need to lie directly above each other to correspond to the blocks on the chart. If you spot any accidental increases or decreases in the area to be embroidered, this could well make things a bit tricky later. If you do spot an error you think could cause problems, simply call this piece the back and work another front to embroider on!
Thinking Ahead to the Back
The cushions have been designed to be decorative with the fronts and backs simply sewn (for the knitted version) or crocheted together. I know some of you have been thinking about exploring options of your own, such as an envelope opening or button band so that you can make the cover removable, and wondering whether there will be enough yarn in the kit for that. The answer is probably!
To give you a guide, in testing, a crochet front meeting gauge averaged 126g and the knitted front 105g. Since a generous 300g of Scrumptious yarn is provided in the kits you should have something to play with if you want to create some sort of overlap (patterns not provided). I’d suggest weighing your own cushion front before stitching so you can calculate approximate grams of yarn needed per row.
Adding a zip is also an option that doesn’t use additional yarn. Carmen from New Leaf Designs made this great video showing how to do this for Scheepjes 2022 Sassenach KAL.
Can I carry on knitting or crocheting and make the cushion from one piece?
There have been queries in the groups about whether you could knit or crochet the cushion in one piece. Personally, I would not recommend it. The additional fabric will be awkward to handle when you come to embroider, which I think will add more time and effort than it would save by having one less seam to sew up. I also think that cushions made with two flat pieces sewn together tend to have a better finish than a folded one. However, this is your cushion and there are no rules, so go ahead if you want to!
Must I Block Before I Stitch?
Fitting a cushion pad is far more forgiving than fitting a human! As with most Scheepjes patterns, It is recommended that you block your knitted or crocheted fabric – but of course that’s completely up to you. If you already have your 45cm square cushion pad, lay the fabric on top and you should be able to see that it’s going to fit just fine, even if it needs a bit of stretching or plumping! If you need to add a bit more height (and you have weighed to check you’ll have sufficient yarn for both sides), it’s fine to knit or crochet a few more rows. You just need to remember that the stitch marker you placed will no longer be on the middle row.
When making the cushions I wet blocked the knitting and crochet (wet blocking is covered in the Tips & Tricks Part 2 blogpost) before embroidering, to even out and set the stitches. I didn’t block again after stitching as I didn’t feel it necessary. For a nice plump, squishy cushion you can block to 45 x 45cm. It’s also fine to go a centimetre or two bigger, especially if you have a generously filled inner.


The Charts
Open up the chart for the design you have chosen (cross stitch for crochet and duplicate stitch for knitting) in your preferred language. Charts and instructions were posted today in both in the Facebook Groups and on the Scheepjes website (use the drop down menu).
I found it easiest to stitch working at the table with the charts on the screen in front of me. You can also print off the charts, which is what I did when I was travelling. I printed on A4 and sellotaped parts together, because I like a big chart for my imperfect eyesight.
Disregard the numbers on the charts, the important thing is the arrows which indicate where you should make your first stitch. All other stitches are relative to this.
If you are making the crochet version, take a look at the key. It’s important to note that cross stitches are made over two crochet rows and two stitches, otherwise you’ll have very bulky stitches and a very tiny bird!
Start Stitching in the Centre of your Knitted or Crocheted Fabric
Find the centre of YOUR piece of knitting or crochet, which is where you’ll make your first embroidery stitch. The pattern advises that we place a stitch marker at the beginning of row 59 for the crochet cushion and 50 for the knitted version. This is the centre row (unless you have knitted/crocheted extra rows as mentioned above). Now count along the stitches on your cast off edge and place another marker in the centre. Your markers correspond to the arrows on the chart and you will make your first embroidery stitch where these meet.
Supporting the Fabric
The fabric (especially knitted) may feel a little floppy and awkward to handle at first. As you add stitches it will begin to stabilise, you should find it becomes easier as you move towards the edges. Most of our testers didn’t need any extra fabric support, but there are some things you could try if you feel it will make things more effortless:
- I pinned the top of my fabric to a 50 x 50cm blocking board using blocking combs because they didn’t catch the fabric when I flipped it over to knot the ends. If you don’t have them drawing pins may work? I quite liked this method as I could put the bottom of the board on my knees, and support the back on the table at a comfortable angle. As I got nearer to the top of the design, I re-pinned at the bottom, flipped it and worked from the chart upside down. After a while the fabric had sufficiently stabilised and I found I didn’t need it.
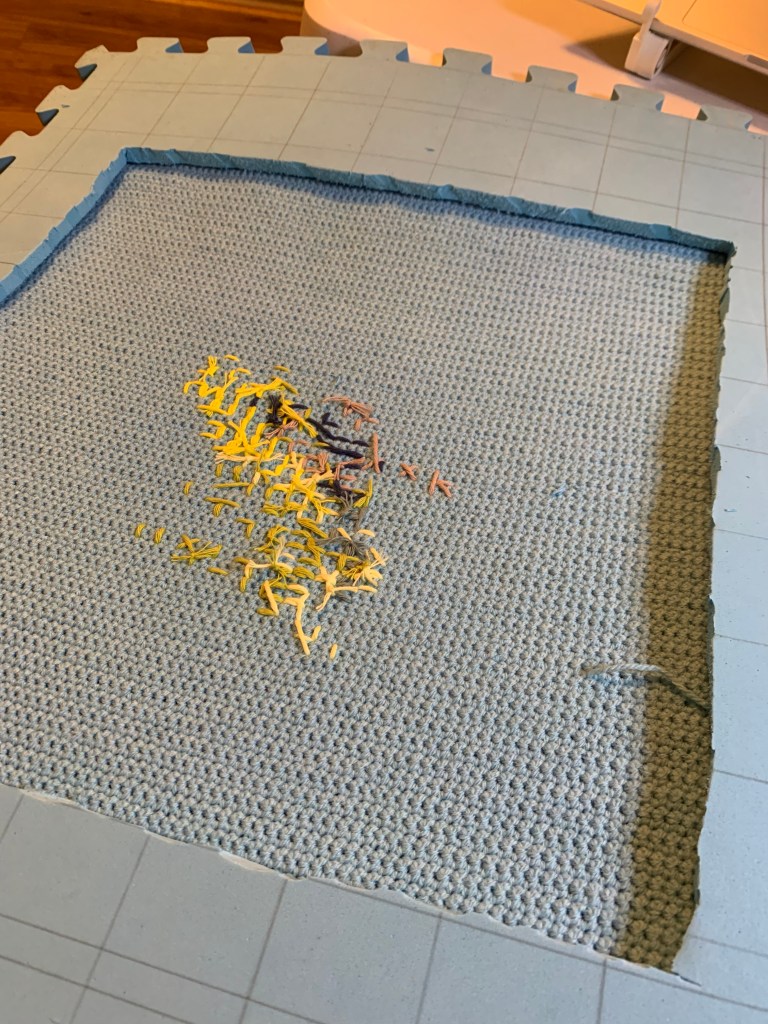
- As I have a pack of blocking boards (cheap play mats), I sacrificed one of them and hacked out a square in the centre (now used to block smaller projects). I pinned all four sides to attach the fabric around the edges. The hole made it easy to knot the yarn tails on the reverse.
- One of our crochet testers placed her fabric in her quilting hoop (regular embroidery hoops are unlikely to be deep enough for the thickness of the fabric).
If you have any other bright ideas that work for you, please share in the groups!
Time to Start Stitching!

So armed with all the info, are you eager to stitch? If you haven’t already read Tips & Tricks Part 3: The Embroidery, please do so before you begin! There you’ll find videos on how to make the duplicate and cross stitches, how we will use our 2.5mm crochet hook to knot the ends and other important info. As always, if you haven’t found the answers to your questions there, ask away in the Dutch or International groups where Scheepjes knowledgeable mods & I will do our very best to help.
