We’re on countdown. Only 1 week to go before the Blue Tit Cushion CKAL (Crochet- or Knit-A-Long) begins! Scheepjes release Tips & Tips today, which is essential reading before you even pick up a hook or needle. I would also suggest visiting my previous post Dawn Chorus CKAL Blue Tit Cushions – Good to Know, which includes some useful general info.
Where can I find Tips & Tricks?

Members of the Dutch or International Facebook Groups can go to the home page and click on ‘Files’. A drop-down menu will appear. The groups are also where you can ask any questions about the CKAL and get all the support and encouragement you need.

There are seven files available, but you’ll only need one. Choose from knit or crochet in Dutch (NL), German (DE) or English (EN). There’s an additional English language file (US) for crocheters who prefer to use US crochet terms. The flag and hook/needle logos on the top right of each page will confirm you have the right version.
Prepping Materials
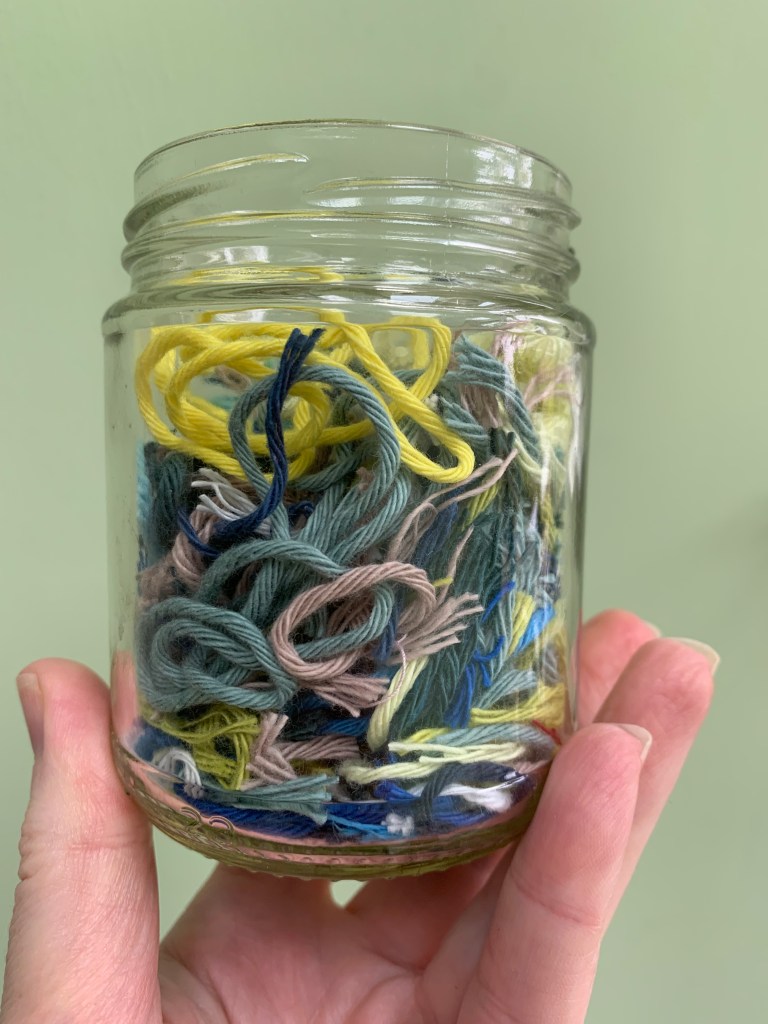
Materials are listed first. Other useful items to gather are a small/medium sharp pair of scissors that will cut your yarn cleanly (13cm Prym Embroidery & Craft Scissors are perfect) and an empty jar for your yarn tails. As well as keeping things tidy, the jar is useful to dip into when you’re embroidering the bird and only need a short length for a small group of stitches.
If you’re anything like me, sewing needles have a naughty habit of disappearing down the sofa, or I stick them in my clothes and forget where I put them. Try to keep the needle from the kit safe – it’s a nice one! I have a dedicated tin for tapestry needles that I try to remember to put it back in. Another idea is to attach a magnet to the top of your jar lid. Should your needle still mysteriously vanish, Prym size 14 Tapestry needles are an excellent replacement.
Have a think about where you are going to be crafting. Good light will be helpful when it comes to stitching the bird motif. I knitted and crocheted in front of the TV then sat at a table for the embroidery part so I could rest the fabric on it and also see the chart on the laptop. The charts will be printable of course, but as my eyesight is not as good as it used to be, I preferred to have it on the screen so I could zoom into the area I was working on.
Have a go at threading your needle with Cahlista. Cut your yarn at a 45-degree angle, hold it very close to the end between thumb and forefinger and bring the needle to the thread. You may find that wetting the end and twisting in the same direction as the yarn is twisted is helpful. The needle in the kit has a nice big smooth eye but we’re going to be threading it a lot later in this project, so if you are still struggling, you might want to invest in a yarn needle threader to speed things up. I have this one by Clover, which is a useful little gadget that has lasted many years.
Included in the kits are three balls of Scheepjes Scrumptious yarn that we will knit or crochet the cushion with, and 11 little balls of Scheepjes Cahlista for the surface embroidery. You also have an extremely cute bird shaped yarn holder to help you identify your colours once the ball bands are removed, so grab a biro and label above the holes with the letters A-L.
Referring to the shade number on the ball band and the materials list, cut a piece of Yarn A about 20cm/8″ long. Tie onto holder and systematically repeat for Yarns B-L.

A piece of labelled card with punched holes is less pretty but would do the same job. Or you can attach yarn to flattened ball bands and label. Whenever I’m using multiple colours in a project, this is something I do. I punch an extra hole in the top then thread the bands onto a binding ring which I can attach to the handle of my project bag.

At this point I would do a final check to make sure all the colours are labelled correctly. The darker blues and green in particular are quite similar in tone and we want to get off to the right start!
The Cushion Inner
The 45 x 45cm (18″ x 18″) cushion inner pad is not included in the kit so you may want to source one now. Especially if you are ordering a vacuum packed hollowfibre cushion pad like these I used, as they take up to a week after opening to poof right up! The inners are a standard size so readily available, and you can choose your preferred filling.
Even better if you have an existing cushion that you want to upcycle, or you can easily make your own. Simply cut two 47cm (18.5″) squares of light coloured fabric, sew around three sides with a 1cm (1/4″) seam allowance. Leave a 20cm gap in the centre of the fourth side (reverse stitch at either end to secure). Turn the cushion the right way around, stuff with your preferred filling (you could combine toy stuffing with leftover fabric or yarn scraps from other projects for example) and sew up the gap with a ladder stitch.
Have a ball winder?
If you are making the knitted version and you already have a ball winder, you may want to wind your balls into cakes. It’s by no means essential but as we will be knitting double stranded you may find it helpful to stop the balls jiggling around on the floor and therefore less likely to tangle.
A Note about Gauge
Our swatches will also be used for practising the embroidery stitches before we work on our cushions and to check that we can get close to gauge. I would say for this project, gauge is important but not critical. After all, not all 45cm cushion pads are created equal and neither are blue tits. Just like us, some have more padding than others! If your gauge is slightly different, your bird may just look a little taller, or shorter, or maybe it’s eaten a few more or less worms!
So many factors can affect gauge. We all have different techniques and the angle you are crafting at, tension in your hands or shoulders. Even changing brand of hook made a noticeable difference to my tension. A cushion back made with my Tulip hook turned out an inch bigger than the front made with my Clover Amour hook!
One thing crocheters should be aware of is that double crochet* is a yarn hungry stitch. If your gauge swatch has less stitches than specified to 10cm, your cushion cover will end up bigger and there is a small possibility of running out of Scrumptious yarn. So, if this is you, then you may need to go down to a 3.75mm or 3.5mm hook, as one of our testers did.
Let’s Get Swatching!
Crocheters are aiming for 21 sts and 26 rows to measure 10 x 10cm over double crochet* using 4mm hook, after blocking. Chain 28, dc* into 2nd chain from hook then in every chain to end (27sts). Work around 32 rows, block the swatch and measure to check you meet gauge.
*single crochet (sc) in US terms.
Knitters are aiming for 16 sts and 22 rows to measure 10 x 10cm over stocking stitch using Scrumptious yarn held double** and 5mm needles, after blocking. Cast on 32 sts using your preferred method. To prevent curling and uneven edges, work 6 rows of garter stitch (all knit rows), then 32 rows of stocking stitch (alternate knit and purl rows) with a 4-stitch garter stitch border at each edge. Finish with a further 6 rows of garter stitch before casting off . Block swatch and measure to check you meet gauge.
**Knitting Double Stranded
Compared to crochet, fabric knitted with the same yarn has more drape. By using two strands we’re creating a firmer fabric that is easier to handle when you are working the embroidery and better supports the stitches. If you’ve never done this before, don’t worry, it’s easy. All you’re doing is pulling a strand from each ball and holding them both together as if they were one while you knit. You just need to take care to insert the needle tip under both strands and make sure you wrap the needle using both strands.
To minimise risk of tangles, pull yarn from outside of ball and pay attention to the direction work is turned at the end of each row. If you’re winding your balls beforehand, don’t wind together into a single cake, make two separate wound cakes. I eventually discovered that my yarn didn’t tangle if I placed one ball on the floor to the left of me and one to the right of me. I took yarn from outside of the balls or cakes and at the end of each row, took the needle in my right hand (with the knitting on), turned it anti-clockwise 360 degrees before placing it in my left hand, ready to knit the next row.
I’ve made a little video just to show how easy it is. Come back on Friday when we’ll practise on our swatches and take a look at how to make the embroidery stitches.
