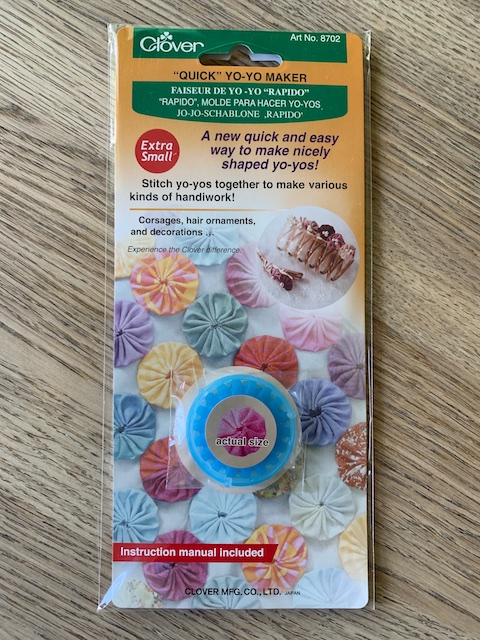
I confess I have a weakness for gadgets. They don’t all live up to expectations and I won’t name and shame, but one I’ve been using recently and really quite like, is the Clover Quick Yo-Yo Maker.
Originally yo-yos (or Suffolk puffs as I know them) were a way of re-using old fabric to make quilts. I do like finding new ways to use every last scrap of cloth!
It’s perfectly possible and simple to make yo-yos without one. A yo-yo is essentially a hemmed, gathered, flattened circle of fabric. The advantage of using the gadget is ease, speed and uniformity, if that’s what you’re looking for. Five minutes from start to finish is what it takes me to make one. It’s at least twenty without the gadget. If you want consistent looking yo-yos this will definitely help. Different sizes are available to make yo-yos from 20-88mm, plus templates for other shapes like hearts and flowers that I’ve not tried yet. You can find a variety here at Black Sheep Wools.

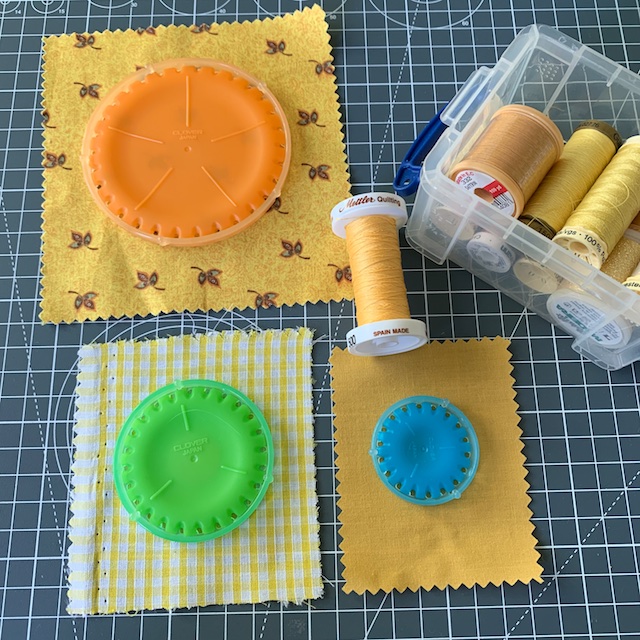
Once you have the hang of it, experiment away, but to begin with, I’d suggest either the 45mm or 30mm template and a light cotton fabric that drapes but doesn’t fray too much. You’ll also need small sharp scissors, a shortish hand-sewing needle and matching sewing thread. Cotton quilting thread is best as it’s unlikely to snap but I’ve found I can get away with a standard good quality sew-all thread if I am careful.
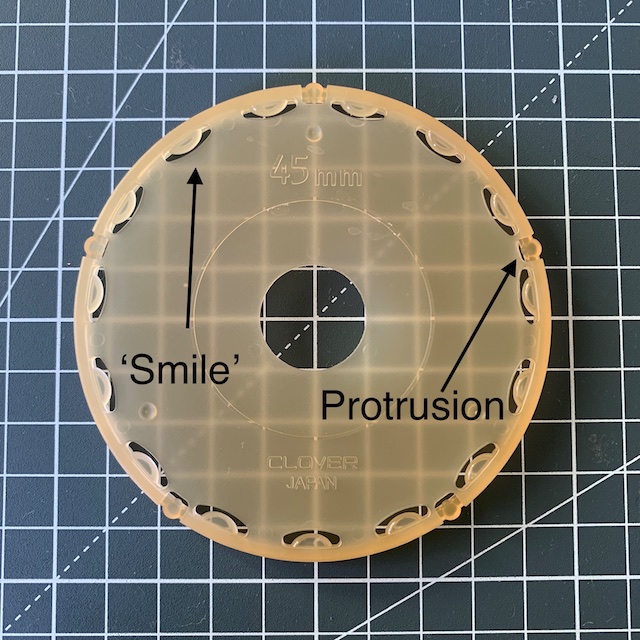
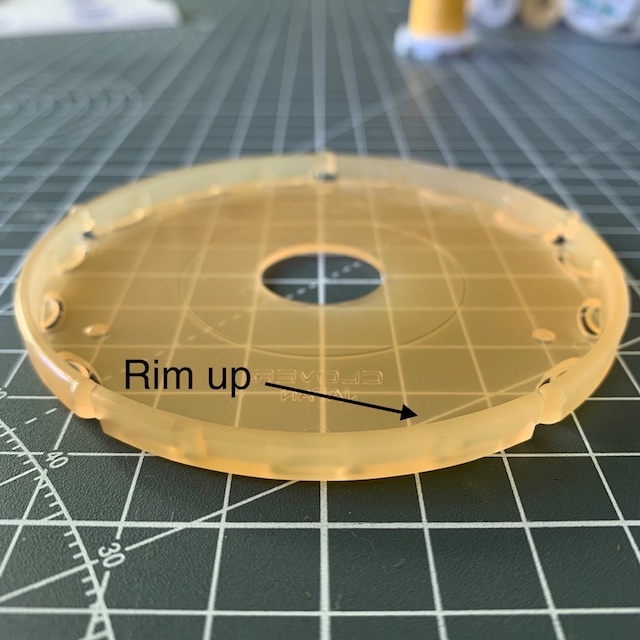
In the pack you get instructions in French, Spanish, Dutch and English and a template that is made up of a plate and a disk. The plate has a central hole, little slotted holes in smile shapes around the edge and a rim with protrusions.
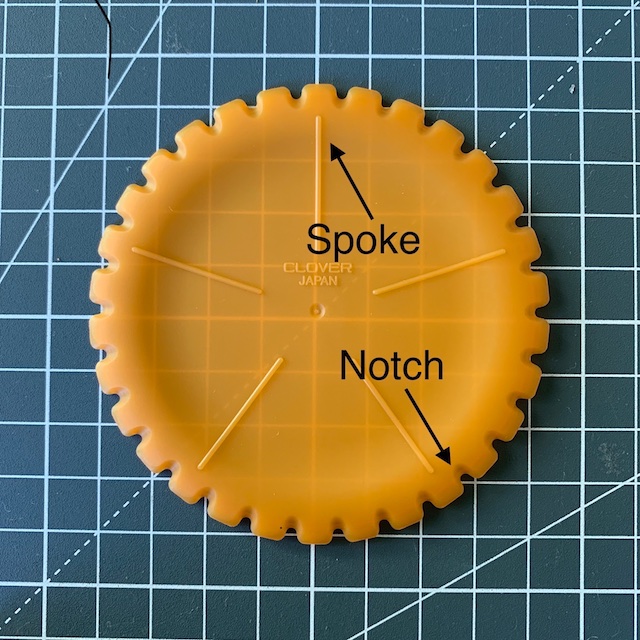
The disk slots inside the plate and has a notched edge and embossed ‘spokes’ for aligning correctly.
First you lay the plate down, rim side up.
Then lay your fabric on top, right side down. Place the disk on the top, front (embossed) side up.
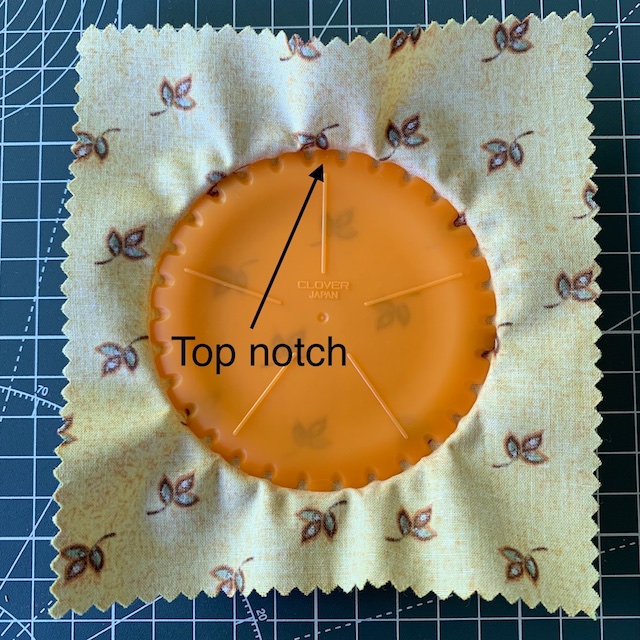
Line up the top notch with the top protrusion and push the disk into place. It should make a satisfying click. Check that you can push a needle through one edge of a ‘smile’. If not then you need to check the alignment again.

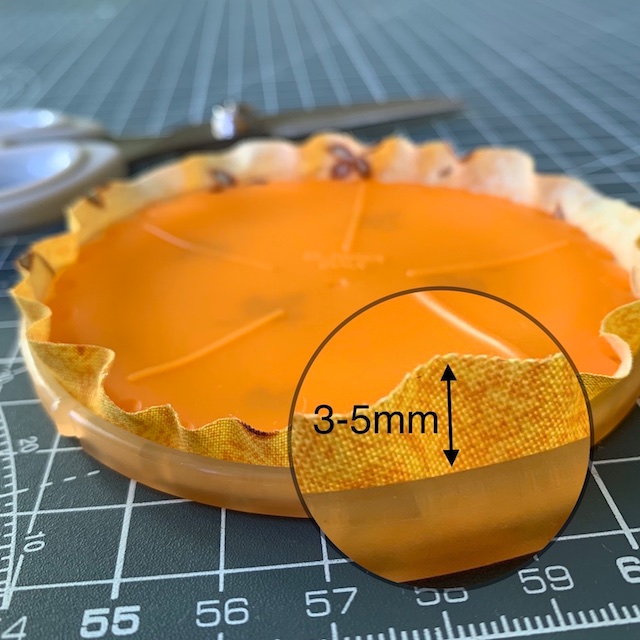
Trim your fabric evenly so it’s 3-5mm above the edge of the rim.
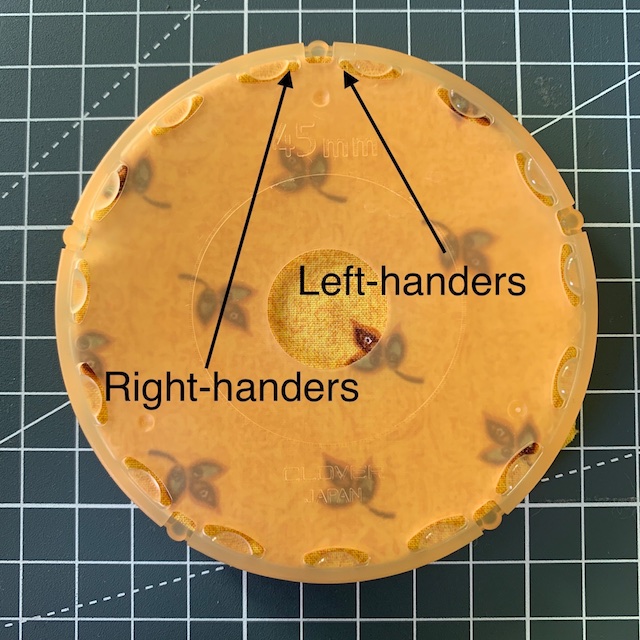
If you are right-handed, your starting slot is the right hand side of the smile immediately to the left of the top notch. You will be stitching in an anti-clockwise direction.
If you are left-handed like me, your starting slot is the left hand side of the smile immediately to the right of the top notch. You will be stitching clockwise.
Thread your needle and double knot the end (about 60cm of thread is plenty). Fold the fabric seam towards the disk and hold it down with your fingers as you bring the thread from the disk side at the back to the plate side at the front. Your needle should pass through both layers of fabric and emerge at the slot shown below.
Send the needle back down the other end of the same smile from the plate side back to the disk side.

Continue up and down the same way through each smile in turn, holding the fabric as you go. When you get back to the top notch you then sew up and down through the first smile one more time (taking care not to pierce your initial knot as you come up).

Leave the needle and thread attached and use your thumb to push the disk out.


Carefully lift the seam to ease the disk out from the fabric. Pull the thread to gather, tucking the seam inwards as you go. Don’t worry if it looks like a more like a Chinese dumpling at this stage!


Gently manipulate your yo-yo, evening out the creases and flattening it before pulling the thread hard. Be very careful here not to snap it if you’re not using the recommended quilting thread – that would be very frustrating! Stitch through a fold or two in the centre before making a tight knot.
Ta-dah! Your yo-yo should now look something like this. I don’t cut the thread so I can use it to attach my yo-yo to my project but if you want to, insert the needle into a crease, pull it back out and snip thread close to the fabric so the end disappears inside the layers.

Your fabric choice – its thickness and drape – and whether your seam allowance is nearer 3 or 5mm will change the look of your yo-yo as I’m finding out on my current project. They can lay quite flat if you have a thin fabric and tightly pull the gathers to close the hole completely. A slightly thicker fabric with an opening left in the centre can look more like a raised barnacle. I’ve made some with fine net and stitched beads in the centre. You could also stuff the yo-yos before closing them up or put a piece of contrast fabric inside to show up in the central opening.


You’ll find plenty of ideas for using yo-yos creatively on Pinterest. Probably not a cat hat though!


Fantastic tutorial! The yo-yos are so cute, they look like sweet little flowers! I’m currently working on a sea/mermaid themed costume project and I could see them working well as coral for an embellishment. Thank you so much for writing this post, it’s really inspired me 💛
Emily M x
http://www.princessemilym.wordpress.com
LikeLiked by 1 person
That’s really kind of you to say Emily! I’m really pleased you find it useful. Let me know when you finish your costume. I’d love to see it!
LikeLike